Creating shares
Not everyone can create shares — many accounts exist purely so that data can be shared with them. If you do have permission, choose Shares → Create from the navigation bar.
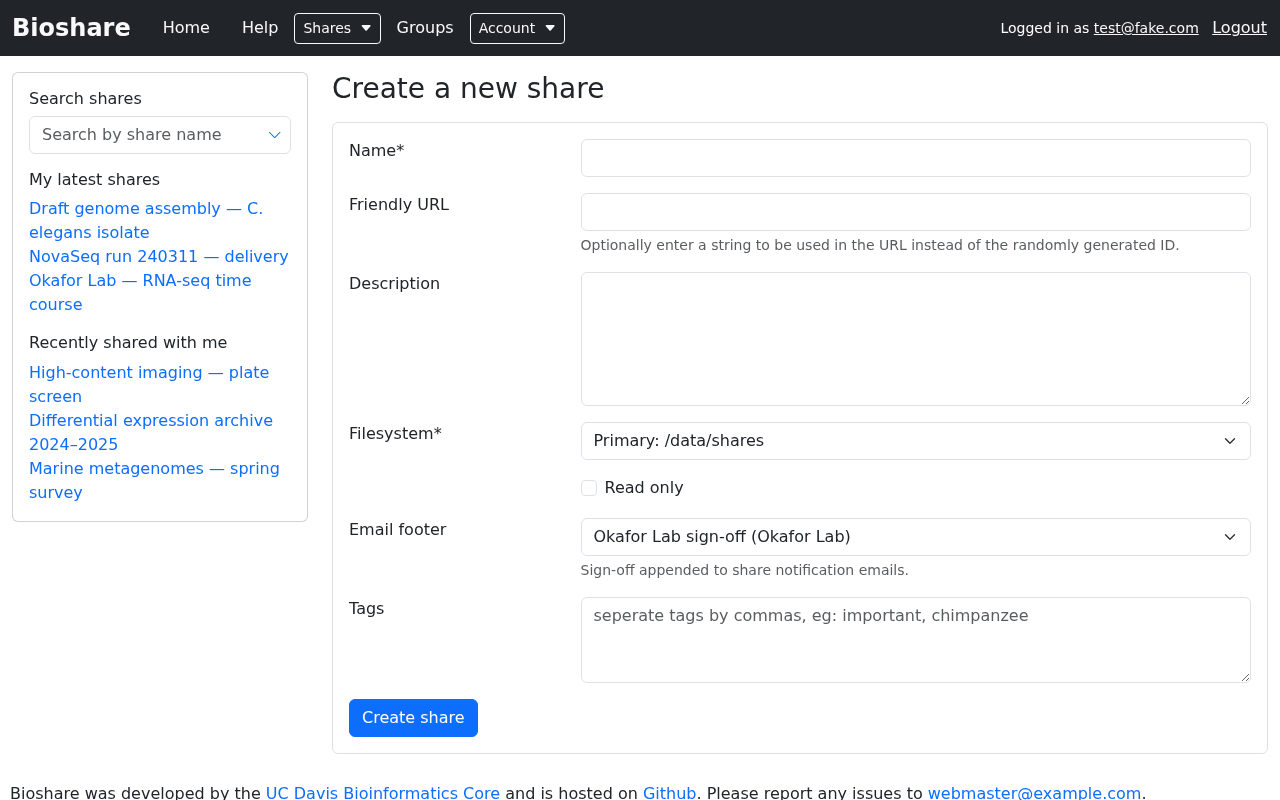
The form
| Field | Notes |
|---|---|
| Name (required) | Choose something meaningful. This is what people search for and what appears in their share list |
| Friendly URL | An optional text string used in place of the random ID. It shows up in URLs and as the directory name in SFTP listings, which makes command line work much more pleasant |
| Description | Optional free text explaining what the data is |
| Filesystem (required) | Which storage volume to create the share on. It defaults to blank, so you must choose one |
| Read only | Disables writing and deleting for everyone. Most often applied later, once a share is populated |
| Tags | Comma-separated labels for categorising the share |
Tags must be alphanumeric
Tags are validated as comma-separated alphanumeric words. rnaseq is fine;
rna-seq is rejected because of the hyphen.
Some fields only appear if you have the corresponding permission:
- Owner — administrators can create a share on someone else's behalf.
- Link to path — points a share at a directory that already exists on the server, instead of creating a new empty one. This is restricted, and the target must fall inside a whitelist configured by your administrator. The form lists the permitted locations.
After creating
A new share is empty and shared with nobody. Two things usually follow:
- Add data — see Downloading and uploading.
- Give people access — see Permissions. Until you do, you are the only person who can see it.
Adding a README.md file at the top of the share is worth the small effort:
BioShare renders it underneath the file list, so anyone opening the share sees your
explanation of the contents without downloading anything. See
Rendered README.
Read-only shares
Ticking Read only blocks all writing and deleting, regardless of individual permissions. It is most useful once a dataset is final: it protects the data from accidental modification by people who still need to download it.
You can toggle this later from the share's Edit form, so there is no need to decide up front.
Subshares
You can also create a share from a folder inside an existing share. Open the share, find the folder, and choose Create subshare from its Actions column.
A subshare is a view of the same underlying directory rather than a copy:
- Files added or removed through either share are visible in both, because there is only one set of files.
- Permissions are separate. Access granted on the subshare applies only to what is reachable from that folder down.
This is the tool for "I want to give this collaborator that one directory, and nothing else."