Downloading and uploading
There are several ways to move data in and out of BioShare. The browser is simplest, but for large or numerous files, command line tools are far more reliable.
BioShare writes the commands for you
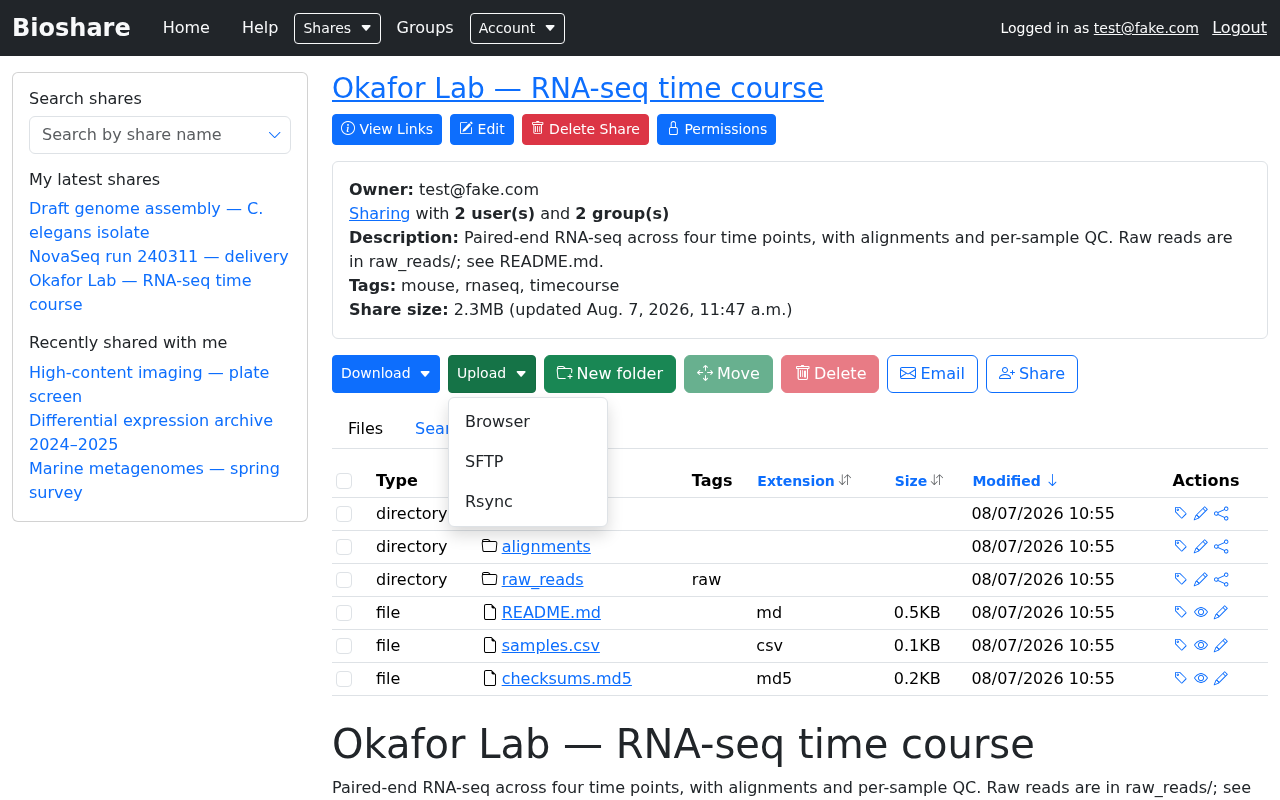
You do not need to assemble SFTP or rsync commands by hand. Open a share, click Download or Upload, and pick a method: BioShare shows the exact command for that share and folder, already filled in with the right host, port, username and path. Copy it and run it. The examples below are for explanation — always prefer the command the application gives you.
Choosing a method
| Method | Good for | Direction |
|---|---|---|
| Browser | A handful of files; anything up to a couple of gigabytes | Both |
| Zip file | Grabbing a whole folder at once, up to 2 GB | Download |
| SFTP | Large transfers; graphical clients; no key setup needed | Both |
| Rsync | Very large or repeated transfers; resuming; syncing | Both |
| Wget | Recursive download on a machine where you cannot set up keys | Download |
Two situations make the browser a poor choice:
- Large or numerous files. Browsers cope badly with interruptions, and picking up where a failed download left off is difficult.
- Transferring to another server. Downloading to your laptop only to upload again to a cluster wastes time and bandwidth. Instead, log in to the destination machine and pull the data directly with rsync, SFTP or wget.
Using the browser
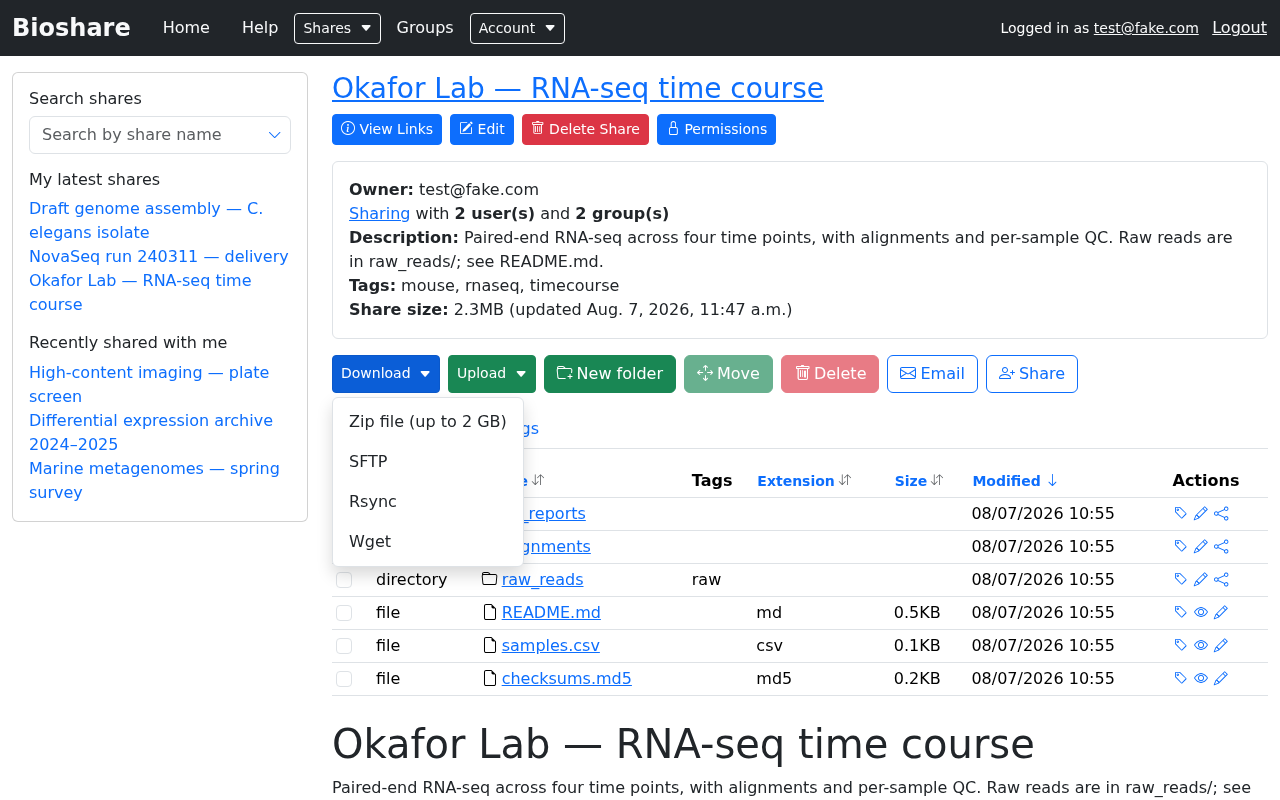
To download, click a file's name. To take several at once, tick them and choose Download → Zip file. BioShare builds the archive as it streams, so the download starts promptly, but the total is capped at 2 GB — above that, use one of the command line methods.
To upload, choose Upload → Browser. A drop area appears: either select files or drag them onto it. Uploading starts immediately; there is no separate confirm step.
SFTP
SFTP is a cross-platform standard for secure file transfer, available as both graphical and command line tools, and it supports uploads and downloads. It authenticates with the same email address and password you log in with — no key setup required, which makes it the easiest of the command line options.
Graphical clients
FileZilla is free, open source, and available on Windows, macOS and Linux. Others such as Cyberduck work too, but are not on every platform.
Use the Quickconnect bar at the top of the FileZilla window:
| Field | Value |
|---|---|
| Host | sftp:// followed by your BioShare server's address |
| Username | Your BioShare email address |
| Password | Your BioShare password |
| Port | As shown in BioShare's SFTP dialog — it is not the default 22 |
After connecting, your available shares are listed on the remote side, and you can drag files between there and your machine.
Command line
sftp -P 2200 'joe@bigdata.org'@bioshare.example.org
The port and host will differ — take them from BioShare's SFTP dialog. Note the
quoting: the username is an email address containing an @, so it must be quoted
before the @host part.
Once connected:
| Command | Effect |
|---|---|
ls |
List your shares. A share with a friendly URL appears under that name |
cd DIRECTORY |
Enter a directory |
get FILENAME |
Download a file |
get -r DIRECTORY |
Download a directory |
put /local/path/file |
Upload a file |
put -r /local/path/dir |
Upload a directory |
See the sftp manual for more.
Rsync
Rsync is the most efficient option for large datasets. It transfers only what has changed, so re-running it after a partial or interrupted transfer costs little — which matters when a dataset is regularly updated.
It is also the most involved to set up. Unlike SFTP, rsync cannot use your password: it authenticates with an SSH key pair. Rsync on Windows is possible but not recommended.
Setting up an SSH key
BioShare uses SSH keys much as GitHub does; GitHub's guide to connecting with SSH is worth reading.
1. Check whether you already have a key
ls -al ~/.ssh
Look for id_rsa and id_rsa.pub — your private and public key. If they exist,
skip to step 3.
2. Create one if not
ssh-keygen -t rsa -b 4096 -C "your_email@example.com"
Set a passphrase when prompted. You will enter it when using the key, which is what keeps it secure if the file is ever copied.
3. Upload the public key
Go to Account → SSH Keys. Any keys you have already uploaded are listed, and can be deleted from here.
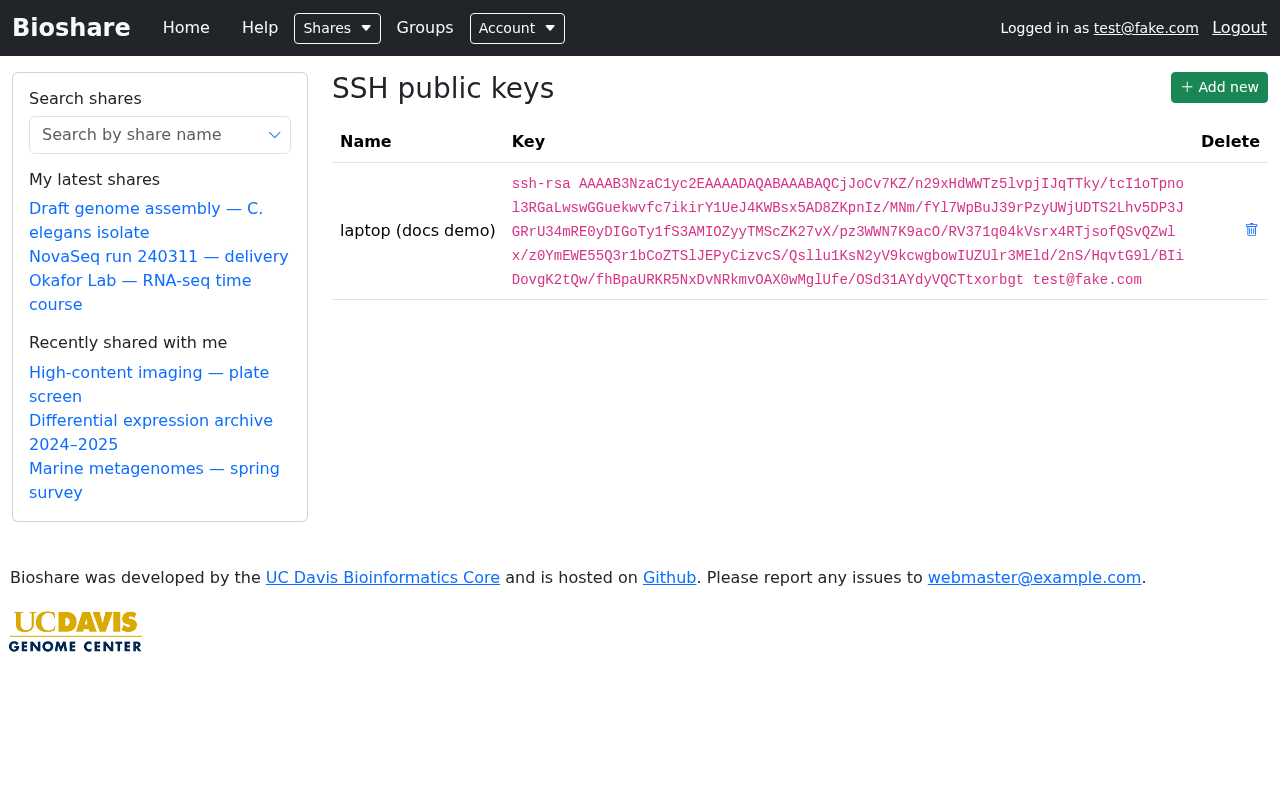
Click Add new, give the key a name that will remind you which machine it came
from, and select the public key — id_rsa.pub, not id_rsa.
Upload the .pub file only
The file without the .pub extension is your private key. It should never
leave your machine and never be uploaded anywhere.
If the file picker will not show your .ssh folder, it is probably hiding
dot-directories. Copy id_rsa.pub somewhere more convenient and upload it
from there.
Transferring
To download a share to your machine:
rsync -vrt bioshare@bioshare.example.org:/RANDOM_SHARE_ID/ /to/my/local/directory
To upload:
rsync -vrt --no-p --no-g --chmod=ugo=rwX /path/to/my/files bioshare@bioshare.example.org:/RANDOM_SHARE_ID/
The --no-p --no-g --chmod=ugo=rwX flags are not optional for uploads: they stop
rsync trying to reproduce your local ownership and permissions on the server, which
it is not allowed to do.
Uploading by rsync needs Write and Delete
Rsync requires both permissions to upload, because of how it replaces files during a transfer. Write on its own is not enough — see Permissions.
Wget
Wget recursively downloads a share over HTTPS using your current browser session, which means there is no key setup — but the transfer only works while that session remains valid, so it suits medium-sized downloads rather than multi-day ones. BioShare generates the full command, including the session cookie, under Download → Wget, with variants for Linux/macOS and Windows.
Troubleshooting rsync
It asks for a password and fails to authenticate
If your key is set up correctly, BioShare will not ask for a password. Check, in order:
Is the private key on the machine you are running rsync from? A common mistake
is to SSH into a server and rsync from there — the key is on your laptop, not on
that server. Either copy the private key to ~/.ssh/ on that machine, or run rsync
from the machine that has it. After copying:
ssh-add ~/.ssh/id_rsa
Is the SSH agent running?
ssh-add -L
If that reports Could not open a connection to your authentication agent., start
it and add the key:
eval "$(ssh-agent -s)"
ssh-add ~/.ssh/id_rsa
Are you offering the right key? Compare the output of ssh-add -L against the
keys listed on your Account → SSH Keys page. If the one you uploaded is not
loaded, add it with ssh-add.
handle_rsync exception: User ... cannot read from share
You do not have permission to download from the share. Ask the owner or an administrator for Download permission.
handle_rsync exception: User ... cannot write to share
You do not have permission to upload by rsync. Ask for both Write and Delete — rsync needs both.